Loading and Installing Libraries
This lesson introduces Python libraries, showing how to install packages, import them into your environment and explore library functions to extend Python functionality for data analysis.
Import libraries, Package management, Bioconda, PyPI, Conda-forge
Approximate time: 45 minutes
Learning objectives
In this lesson, we will:
- Explain different ways to install external Python libraries
- Demonstrate how to load a library and how to find functions specific to a library
Overview of lesson
Much of the power and appeal of Python comes from its rich ecosystem of libraries. Instead of writing everything from scratch, you can install and import packages that handle tasks like reading CSV files, working with biological sequences, or creating plots. The open-source community has developed a vast array of libraries to support various domains and use cases. You do not have to reinvent the wheel every time you need to perform a common task.
In this lesson, you will learn how to install, load and explore libraries so you can tap into this broader ecosystem for your own work.
Libraries in Python
Libraries are collections of Python functions, data and compiled code in a well-defined format, created to add specific functionality. Just as we created our own functions in the previous lesson, other users have created packages of functions they have shared with the community in the form of libraries. These packages can be installed and loaded into your Python environment so you can use the functions that they contain.
There are a set of standard (or base) packages which are considered part of the Python source code and automatically available as part of your Python installation. Base packages contain the basic functions that allow Python to work and enable standard statistical and graphical functions on datasets. For example, all of the functions that we have been using so far in our examples are basic functions.
Libraries are directories where packages for Python are stored. Note that the terms package and library are sometimes used interchangably and there has been some discussion amongst the community to resolve this.
Channels for Python libraries
There are many different channels for Python libraries. You can think of these as different places where Python libraries are stored and can be accessed from. Some of the most commonly used channels include:
| channel | description |
|---|---|
| bioconda | Conda channel for bioinformatics tools and libraries.scanpy, anndata, etc. |
| conda-forge | Community conda channel with many packages for science, data and general Python use.NumPy, pandas, etc. |
| PyPI | Main online index for Python packages, used with pip to install and manage libraries.scipy, matplotlib, etc. |
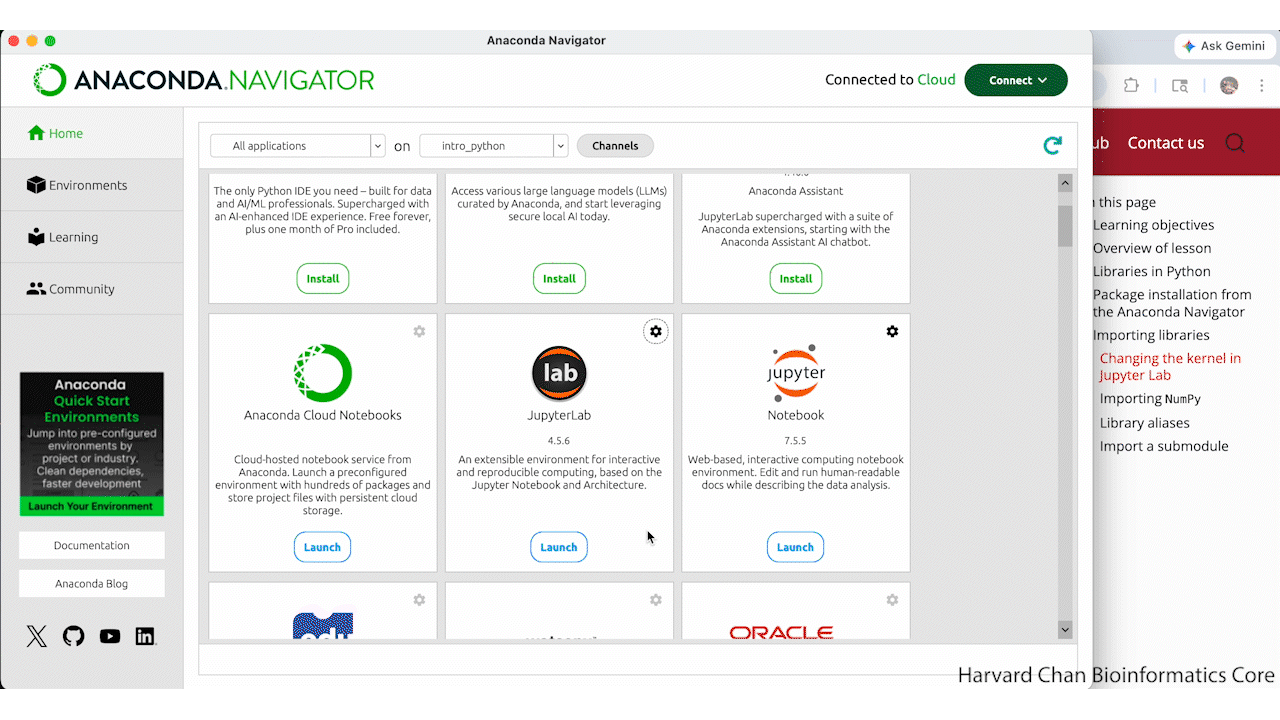
If you click on the “Channels” button from the “Environments” tab of the Anaconda Navigator, you can see the channels that are currently being used to search for packages. You can add additional channels here to search for packages that are not available in the default channels. For example, if you want to search for bioinformatics tools, you can add the bioconda channel.
Additionally, you can click on the “Not installed” filter to see a list of packages that are not currently installed in your environment. This can be a useful way to find new packages to explore and install.
Package installation from the Anaconda Navigator
Now that we have an understanding of what libraries are, we can talk about how to install them. There are many different ways to install packages in Python, but two of the more common ways are:
- Installing from the Anaconda Navigator
- Installing from the command line using
piporconda.
For this workshop, we will use the Anaconda Navigator to install packages.
Create a new environment
Generally, the recommendation is to avoid installing backages on base (root). So we are going to create a new environment. These are like separate “workspaces” where you can install packages on one environment without affecting the other environments. This can be useful for keeping your projects organized and be consistent with package or Python versions across projects.
To begin, let’s first create a new environment called intro_python. Navigate to the “Environments” tab in the Anaconda Navigator and click on the “Create” button. In the pop-up window, enter intro_python as the name of the environment and select Python 3.10.20 as the version. Then click on the “Create” button to create the environment.
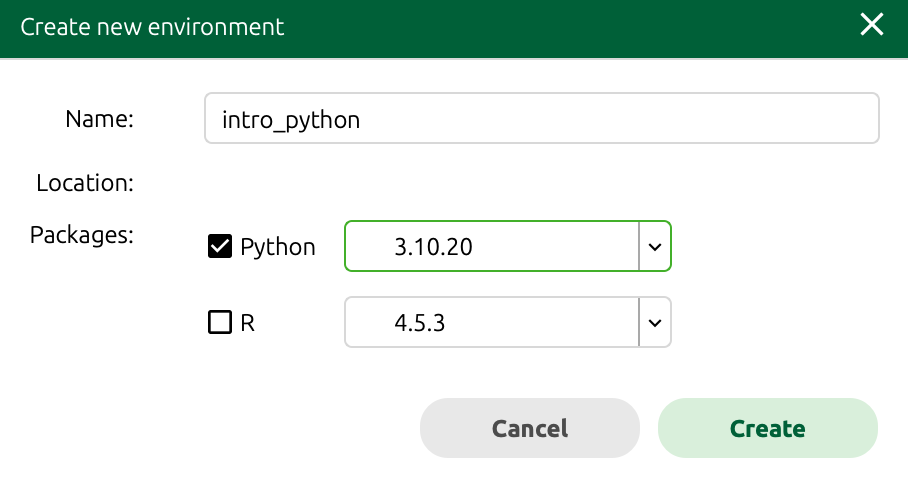
intro_python and the Python version is set to 3.10.20.
This step may take a few moments to install everything for your new environment. Once it is done, you should see intro_python listed in the “Environments” tab.
Installing NumPy
Within our intro_python environment, we are going to install the very popular NumPy library (commonly used for matrix and mathematical operations).
First, change the dropdown menu to either “All” or “Not installed” instead of “Installed”. Next, in the search bar, type numpy and press enter. There many be several packages that appear as all potential search matches are listed in alphabetical order. You may have to scroll until you see the numpy package.
Click on the checkbox next to numpy to select it for installation, and then click on the “Apply” button to start the installation process. The Anaconda Navigator will handle the installation and will let you know when it is complete.
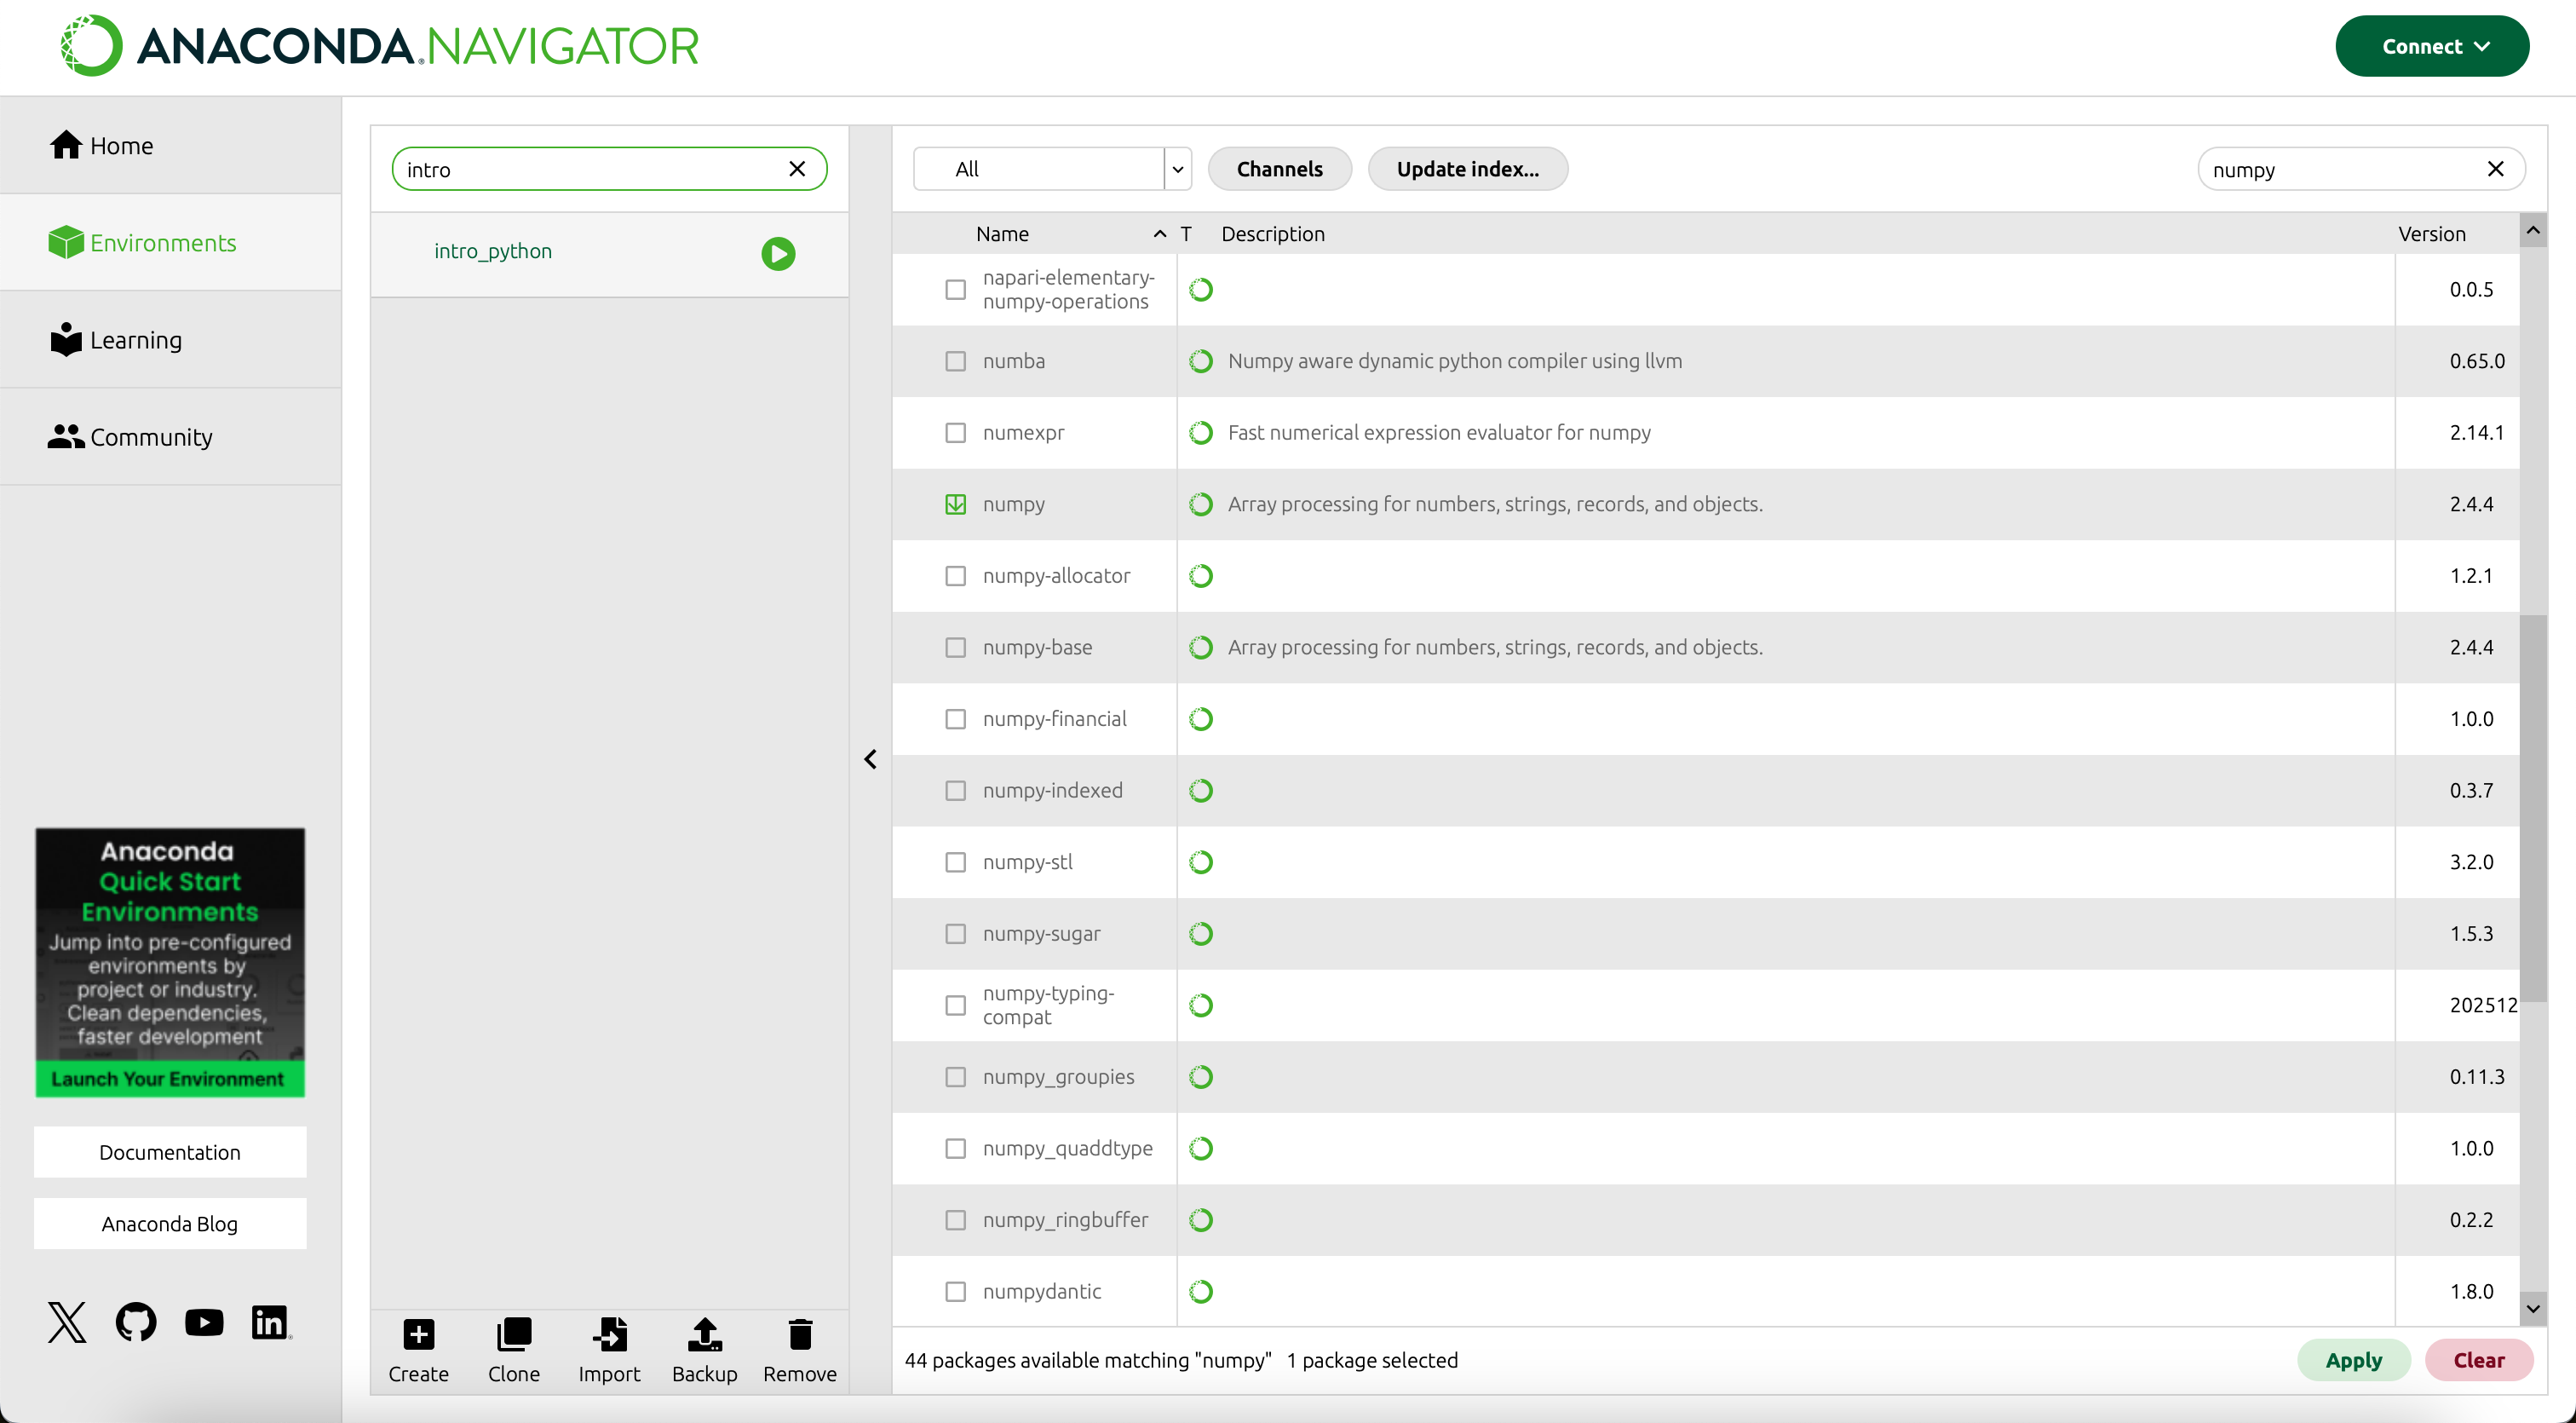
numpy package in the intro_python environment.
You may get another pop-up window asking you to confirm the installation of NumPy and any dependencies that it may have. Dependencies are other libraries that NumPy uses under the hood in order to function properly. Therefore, we want to install these additional packages to have a succesful installation of NumPy. Click on the “Apply” button to confirm the installation and continue with the process.
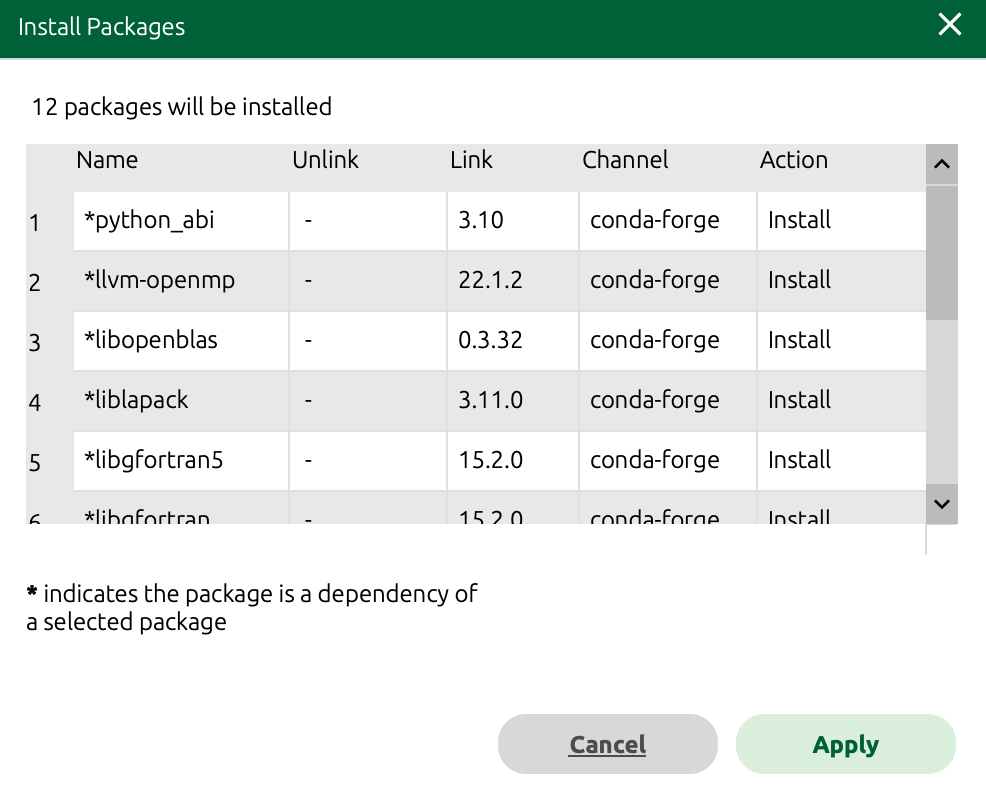
NumPy package and dependencies in the intro_python environment.
We only need to install a package once on our computer. However, in order to use the package, we need to load the library every time we start a new Python session. You can think of this as installing a bulb versus turning on the light.
So now we will never have to install NumPy again for whenever we are using the intro_python environment.
- Repeat the steps above to install the following packages from the Anaconda Navigator:
jupyterpandasmatplotlibscikit-learnseabornnb_conda_kernels
This installation may take quite some time as there are many dependencies that will need to be installed for each of these packages.
You will know that the installation is complete if you search installed packages and see each of these libraries with a green checkmark next to them.
Importing libraries
Now that we have installed the libraries we want to use, we need to import them into our Python environment in order to access their functions.
Changing the kernel in Jupyter Lab
First, we will close our Jupyter Lab notebook and re-launch it to make sure that we are using the intro_python environment by setting our “kernel” to intro_python. Kernels are another way to refer to a Python environment in Jupyter Lab. When we relaunch Jupyter Lab it should ask us which kernel we would like to use. Select Python [conda env:intro_python]* and click “Select”. We should now see that out kernel is Python [conda env:intro_python]* in the top right of our Jupyter notebook.